I have been asked how I did my SELF-PORTRAIT for THE WEEKLY PHOTO CHALLENGE. Well, here is a quick run down.
For starters, I laid a green screen down on my driveway. Then I took Rodan139 357 meters above sea level and set the camera to take time lapse pictures every 10 seconds.

Then I tried a few poses:

But I ultimately decided on this pose:

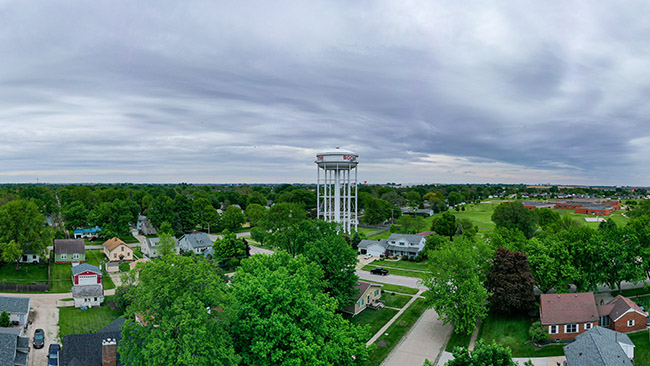
Since I had Rodan139 out, I went ahead and took a couple pictures of the nearby water tower:

Then I took Rodan139 up to 397 meters above sea level and took a picture straight down:

Next I opened up both images in Photoshop. I cropped the picture of me, so it was only me and the green screen:

After cropping the images, I went to the select menu and chose “Color Range”. Then using the eyedropper tool, I held the SHIFT key while clicking and dragging around all the green area that I need ed to remove:

Then from the SELECT menu, I chose INVERSE.
Then, while holding the SHIFT key, I chose SELECT AND MASK.
From that menu I played with the SMOOTHNESS slider to make the edges of the selection smoother.

When I was satisfied, I selected OK.
Then from the SELECT menu, I chose INVERSE. Then I pushed BACKSPACE to remove the green screen:

Then I copied the selection over to the new background image.

Then finally, I blurred the new background slightly, to make the image look more realistic. This was the final result:

That is it, easy peasy!


What a hoot, Chris. Made me laugh and I shared. Great job.
Thanks for sharing! It was a fun little project!